DJI Inspire 1 vs Gopro 4

Image maxresdefault_19a231dc-69d5-4228-8db7-bed43782f1aa_large.jpg

DJI Inspire 1 vs Gopro 4

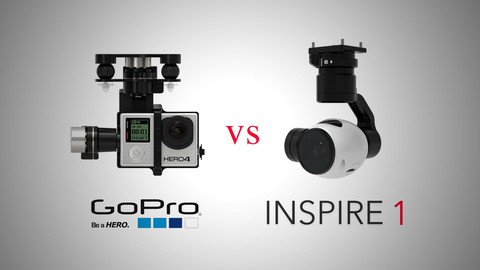
A lot of debate goes around about which is better: the DJI Inspire 1 camera or Gopro 4 camera. Some swear by Gopro and others swear by the Inspire camera. So which is really better? Well, it’s pretty safe to say that every camera is different and every camera is going to have its drawbacks and its perks. A lot depends on what is going to best fit your needs.


I’ve seen quite a few reviews say that the Inspire camera is mediocre compared to the Gopro camera. People are familiar with the Gopro and they are happy with it. It’s a great camera! However, it also seems that a lot of people who have been disappointed with the Inspire camera only needed to adjust the settings or the lenses. Once they had everything adjusted correctly, they were perfectly happy with their footage.


Let’s compare the specs.


First of all, they’re both 4k cameras which is already a thumbs-up for each of them. 4k captures sharp video footage and you can edit without worrying about losing quality.


Both the Inspire and the Gopro have a max 60Mbps video rate. You will have less compression in your video with a higher data rate. Though you do need a faster SD card with this type of rate, it is still pretty impressive when compared to other cameras that can usually only get up to about 30Mbps.


There are two things specifically that push the Inspire camera to the lead.


The Inspire has a 90 degree wide angle lens, which is narrow but perfect for a drone, while the Gopro has a much wider lens that is not ideal for a drone and may actually give your photos and videos a distorted look. But the Gopro camera lens is well-suited for other action shots not filmed by a drone. So, in this case it really depends on what you need your camera to do.


The Inspire also can shoot Adobe DNG RAW images while the Gopro 4 cannot. The DNG format is more readable and accessible than other formats. It also has a smaller file size. The Adobe DNG RAW is great for photographers who really like to fiddle with the color of things. The Inspire certainly seems to have better saturation and if you watch different comparison videos you’ll see that the picture is actually a little sharper with the Inspire: you can see a lot more detail.


The Inspire also offers a lot more control over the camera than you would have with the Gopro. But then I’ve heard that the automatic isn’t as good. When comparing the specs, Gopro gives a lot more information about its camera and features while the specs list for the Inspire camera is pretty simple. But I still think that Gopro is more suited for action shots than drone flying. The Inspire 1 camera was specifically designed for flight.


Really, it’s up to you whether you think the Gopro 4 or Inspire 1 camera would be a better fit for you.

SOURCE: Drones Etc. – News – Read entire story here.
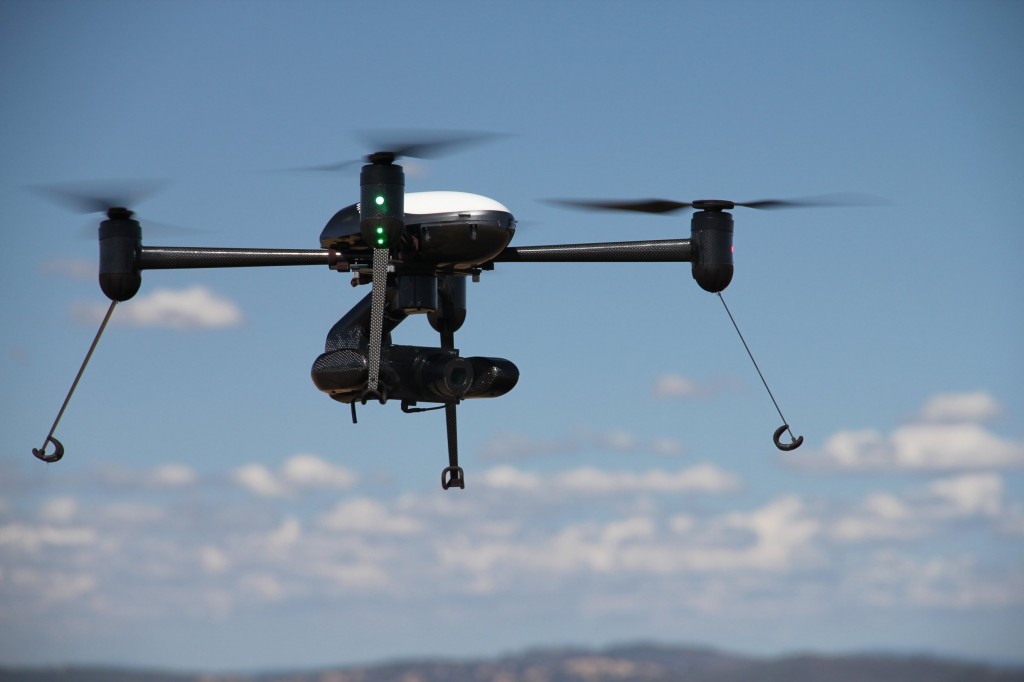
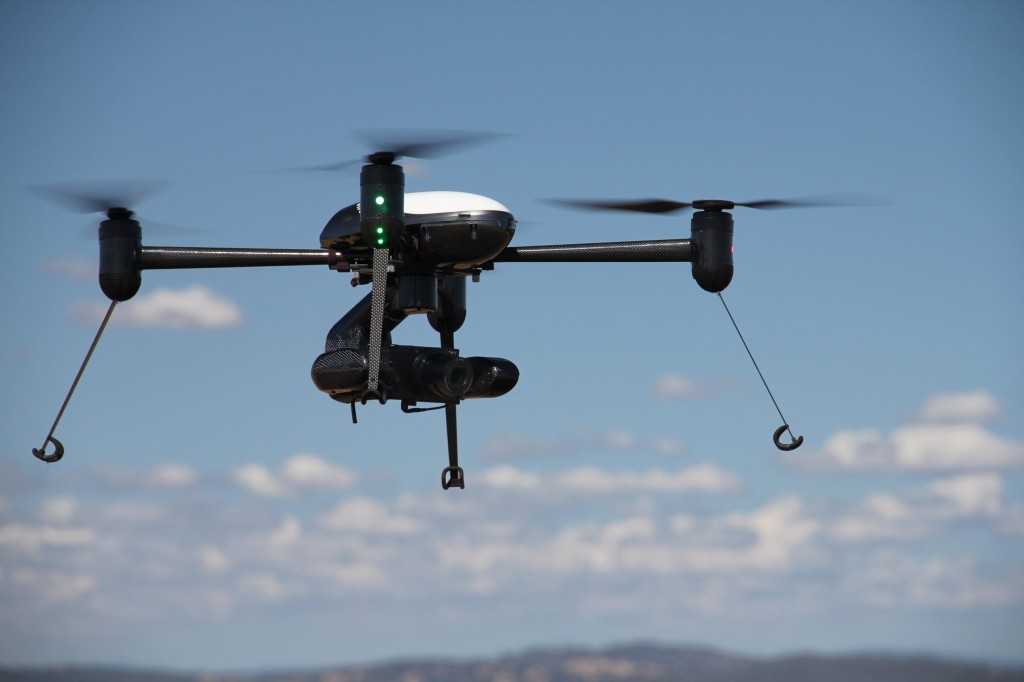
DJI Inspire 1 Guide

Image Inspire1Carbon2-720x480_large.jpg

DJI Inspire 1 Guide

The most important thing you can do before you fly your DJI Inspire 1 is research. Do your homework. Figure out how to fly the thing first and how the pieces operate. Know what each button on the remote does and how much command you’ll have over your drone. Be the expert on your craft.


This will save you a lot of frustration when you start to fly, and you will have so much more power over your flying and your photography.


So how do you do your research? You can always search online for reviews, how-to’s, and videos. But we’re going to talk about one of the most direct and correct places to get your info: the DJI Inspire 1 guide. If you go onto the DJI website and go to the Inspire 1 downloads tab, you will find many manuals that you can download. In fact, there are about 10 different manuals here. These include a quick start guide, a user manual, and safety guidelines. Now, I’m not saying you have to read every word of every one of these guides, just know that they are there if you need extra detail. If you need more info on the propeller’s lock, for example, you can peruse the quick start guide for the propeller’s lock to find just what you need.


I think the two most helpful guides you will find are the Inspire 1 Quick Start Guide and the Inspire 1 User Manual. The quick start guide is great for getting your drone in the air as soon as possible—obviously. It is only about 10 pages and a lot of that is made up of helpful pictures and diagrams. It will tell you briefly about what you will see on the body of the craft and the remote controller. And it will tell you a few things about safe flight like calibrating your compass and the return to home feature.


It will then give you a few instructions (again, brief) about how to use your Inspire 1. It will instruct you on downloading the app, charging your battery, preparing your craft for flight, and then flight itself, among other things. The quick start guide is short but very helpful if you don’t have a lot of time to do an in-depth study of your drone.


The Inspire 1 User Manual, on the other hand, is much longer (64 pages) as it gives you detailed instructions and explanations on just about every aspect of the Inspire 1. It even has a section that tells you how to best use the manual. Some of its other sections include subject matter on the product profile, specifics on the aircraft, the remote controllers, the gimbal and camera, the app, and flight. It also has a frequently asked questions section and an appendix, which are both super helpful for addressing specific concerns.


Even if you don’t end up reading the user manual from cover to cover and you don’t have every word of the propeller’s manual memorized, it’s still good to have these guides on hand.

SOURCE: Drones Etc. – News – Read entire story here.

How to Fly the DJI Inspire 1

Image dji-inspire-1_large.jpg

How to Fly the DJI Inspire 1

The first, and probably most important, question you ask when you get your drone is how do I fly the DJI Inspire 1? You will be controlling an expensive, high-tech drone that has a lot of pieces to operate. But while it may look intimidating, flying the drone is not difficult if you know how and get the hang of it.


Before I get into how to fly the Inspire 1, know that there is a flight simulator on the app that will allow you to control the drone as if you were really flying it—but without any of the risks. I highly suggest you try this out before taking the real thing to the skies. That way you’ll be more familiar with the controls, and you will know what to expect from the GPS and different flying modes.


First, before flying your drone, go through the checklist. Choose a good location for flight that will be safe and will not violate any regulations. Then make sure you’ve done all of the necessary pre-flight procedures: 1. check the battery levels; 2. check that the propellers are on tightly and will not come loose during flight; 3. turn on your drone and wait until it has a GPS lock; 4. calibrate your drone so that everything is set correctly. The camera will calibrate on its own if it is on a flat surface but you will need to physically calibrate the compass. Once you’ve done these 4 things, you’re ready to take off.


Let’s not worry about the camera controls right now. We’re just going to talk about actually flying the drone. All aspects of flight will be controlled by the master controller. To take off, make sure your drone is on a flat surface then toggle both sticks to the inside, bottom corners of the remote.


Your Inspire 1 will now be in the air. To raise the landing gear, simply push the transformation switch up (and down again to lower it). With the landing gear up, your camera will have a clear view.


The left toggle stick will control the side-to-side rotation as well as the throttle up and down.


The right toggle stick will control motion backwards and forwards as well as side to side.


Once you get the handle of coordinating those two toggles, you will be able to do any sort of maneuver with your drone. Simple, right? I will warn you that if you’ve never flown an Inspire 1 before, this will take some getting used to.


Now, for coming back, you can either press the return-to-home button on your controller, or you can land manually. To do it manually, remember to lower your landing gear using the transformation switch again then ease the drone to the ground. To power down, press the power button on the controller and on the body of the drone. On the drone you will want to push the power button once then push it again and hold until the light turns off.


With your battery you will have a solid 18 minutes of flight time. Not too bad, right? So get out there and try it out!

SOURCE: Drones Etc. – News – Read entire story here.
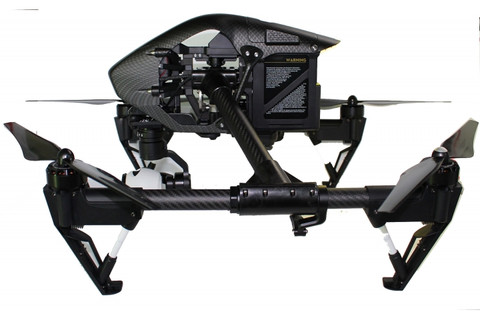
DJI Inspire 1 iOS App

Image Screen-shot-2014-11-13-at-01.37.30-1024x600_large.png

DJI Inspire 1 iOS App

When you buy the new DJI Inspire 1, you get the drone and the controller and hopefully you already have a mobile device to attach to the controller. Now all you need is the free iOS app. This app is specifically for Apple devices and it was released in the middle of March this year—so it’s pretty new. If you have an Android, there is also an Android app available. Not only can you use all of these app features with your Inspire 1, you can also connect the app to a DJI Phantom 3 Advanced or Professional drone (as long as the firmware is version 1.1.6).


Here are a few things you can do through the iOS app:


1. You can get all the flight parameters right on your screen and customize all your flight settings. It will show info about the battery, location, speed, and anything else you need to know about how your Inspire is operating.

2. You can view your drone’s flight in live HD and view a dynamic map. The map works with the GPS to help you see exactly where you drone is flying which is especially useful if your drone gets pretty far away. Viewing your drone’s flight in live HD means that you get to see everything your camera sees. So, if you fly your drone over a river and a few fish start jumping out of the stream, you can see that immediately and hopefully catch a shot of it before they stop.

3. Any of these great photo and video shots can be captured remotely. You have full control of the gimbal from the app and can manually change the camera settings while the Inspire 1 is in the air.

4. You can record your flight in real time and even stream it live on YouTube. So if your great-aunt wants to view your outdoor drone adventures when you do, she can.
5. Edit your video. This is very useful since you don’t have to go to another source to start editing your video—you can do it straight through the app.

6. The app even has a flight simulator that is extremely realistic. It is remarkably accurate to how the Inspire 1 responds to your command in real life. This is great for when you want to practice new maneuvers without the risk of accidentally damaging your drone. The flight simulator even has a little tutorial box that will guide you through your flight

7. Help guides and video tutorials are also available on the app so if you have any questions or troubles, you can easily find the answer.

To download the app, just go to the DJI website and, once you’re on the Inspire 1 page, then go to the downloads tab. There will be a link to download the app from there through iTunes. When you have the app downloaded onto your device, connect the device to your controller with the USB cord.


The iOS app for the Inspire 1 is easy to use and will greatly enhance your flying experience.

SOURCE: Drones Etc. – News – Read entire story here.

DJI Inspire 1 Issues

Image dji_insp1-8_large.jpg

DJI Inspire 1 Issues

You’ve probably heard a bunch or horror stories about drones. These maybe range from tall tales about drones taking over the world and replacing people to malfunctions in the firmware, making the drone crash and costing the owner a lot of money. Don’t worry. Drones are not taking over the world. However, when it comes to drones malfunctioning, crashing, and wasting a lot of money, that does happen. Not often, but every once in a while.


So what issues does the DJI Inspire 1 have?


First of all, calibration. This can be as much of an issue as it is a solution if the calibration isn’t done properly. If you do not calibrate your Inspire 1, you may have issues during flight and your drone may even crash. The two calibrations you need to worry about are for the compass and for the IMU. The compass is very sensitive and should be calibrated every time before takeoff. The IMU stabilizes your flight so that everything operates smoothly. You don’t need to calibrate this every time you turn on your drone but make sure to keep an eye on the IMU levels in case a calibration is needed. Quite a few people have reported issues with their battery getting overheated quickly, making it so they can only get in a couple of minutes of flight. This is related to the IMU not being calibrated.


You may also have issues relating to the GPS signal being lost, though this is hardly a fault of the Inspire 1. GPS can be unpredictable at times and there are other flight modes on the Inspire 1 that do not require GPS signal, so your drone will switch into one of those and easily keep flying.


The Inspire 1 has a high-tech design and it is fully tested before it is ever sent to you so you should have virtually no issues with the mechanics. If you do, it will probably be with the propellers; If the propellers aren’t on tight enough, they may come loose. But there is a simple fix of tightening them and even adding prop-clips.


DJI is constantly updating the new firmware to weed out any bugs that are likely to occur. If you do run into errors though, there are ways to troubleshoot so that you can get your drone safely back into the air. With most firmware problems, you will be notified of an error through the app on your mobile device, through the controller itself, or on the body of the drone. If there is an error, there’s usually a safety feature for every flight aspect to prevent damage.


Most crashes and issues come simply from pilot error. The only way to avoid this is to do your homework and figure out the specifics of flying your drone. If you keep having difficulties with something, call for support or maybe try out the same thing on the flight simulator a few times.


If you’re having issues but cannot troubleshoot the drone yourself or you can’t seem to fix a problem, you can always call DJI or even a number of drone retailers. They will guide you through each step to figure out what the problem is and how to best fix it. It may be that a part is damaged and you need to send it back. Don’t worry; virtually any issue can be resolved.

SOURCE: Drones Etc. – News – Read entire story here.

DJI Inspire 1 Calibration

Image Inspire-1_20141105_0759_large.jpg

DJI Inspire 1 Calibration

If you seem to be getting errors on your Inspire 1, you probably need to do some recalibration. There are three main things that need to be calibrated: the gimbal, compass, and IMU. The first two should be calibrated before flight every time and recalibrated if you have issues during flight.


Before you let your Inspire take off, you have to let the gimbal calibrate itself. As soon as you turn it on, it will spin around in a circle a few times and when it stops you know that it is calibrated.


Inside each Inspire is a sensitive compass which will also need to be calibrated every time before takeoff. To calibrate it, first open your DJI pilot app and press the “mode” button then select the “calibrate compass” button. When you hit start, a light at the back of the Inspire should turn blue.


When this happens, you want to actually pick up your inspire and hold it parallel to the ground. Spin around in a full circle (360 degrees), keeping the Inspire level. Now the light (the Aircraft Status Indicator) should turn green.


Next, turn the Inspire so it is facing nose down. Then spin in another full circle. The light should now turn off and go back to blinking purple. You can place your Inspire back on its flat surface—the compass has been calibrated! However, if the indicator light is a solid red, you will need to calibrate again. And if the light blinks red and yellow, you will need to move to a different location and recalibrate.


Don’t worry about memorizing all of these steps before you get your drone out there. The app should guide you through each step with specific instructions.


Now, be aware that this is a very sensitive compass. Any interference could disrupt the flight and even cause damage to the craft. Make sure when you calibrate that you stay away from strong magnetic forces and that you remove any ferromagnetic items from near the Inspire (including things like cell phones). It is also suggested that you not calibrate near any large metal objects. So, if you find a huge metal box in the middle of your flight field and really want to calibrate inside of it, resist the urge.


You may need to also calibrate the IMU (particularly if your battery seems to be overheating quickly). The IMU (Inertial Measurement Unit) makes sure your drone has a nice, even flight. It measures all the aspects of the attitude of your drone. By going to the sensors tab on your app, you can check the status of your IMU. If you need to do a calibration, there are two buttons next to the “check IMU” button which you can tap to start the calibration. The basic one will take only a few seconds and you should be good to go. If you need to do the advanced calibration, you must first let your drone cool down (if it hasn’t already) before you can start.


So, really calibration is pretty easy and doesn’t take much time. And, once you’ve done all the calibrating, your drone will fly nice and smooth.


SOURCE: Drones Etc. – News – Read entire story here.
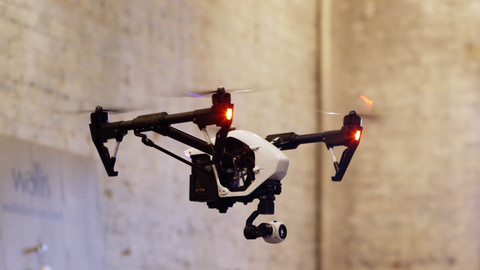
DJI Inspire 1 Insurance

Image Inspire-1-package_large.png

DJI Inspire 1 Insurance

You can read up on everything related to your DJI Inspire 1 so that you will have the best possible flight experience but there are some things you just can’t control. Like the weather. And accidents. But after paying $2,899 for the Inspire 1, you really don’t want to pay extra for new parts or even a new drone a short time later because your drone ran into a tree or something. Even worse, you really don’t want to have to pay an arm and a leg because you accidentally crashed the drone into your neighbor’s car. Beyond this, some people can also run into privacy problems and liability issues.


If you are worried about any of this, you can always get insurance.


It’s probably good to understand that there are two types of coverage that you might want. The first is for liability. If your Inspire 1 crashed into someone else’s property, for example, and broke some expensive stuff, whatever insurance you get should cover it. This is the most important type of coverage for your Inspire 1 because liability damage could cost you a lot.


The other type of coverage is for damage to the Inspire 1. Like I said above, this could be a really great idea so that you don’t have to worry about replacing parts or buying another drone. However, insurance isn’t cheap. First look at your insurance rates and compare them to prices surrounding the Inspire 1. It might end up being cheaper, or about the same cost, to just replace parts than to get insurance for damage.


I’ve seen some posts online that say some people’s homeowners insurance actually covered their drone as long as they were only using their drone for recreational purposes and not commercial. This isn’t a for sure thing and every insurance company is different. But it certainly wouldn’t hurt to call your current insurance company to see if they would cover your drone.


If your insurance company does not cover your drone, or you are planning on using it for commercial purposes, you can buy insurance specifically for your drone.


I’ve been doing research but it seems hard to find definitive insurance for drones. Two different companies, AIG and Unmanned Risk Management, seem to offer coverage options for physical damage and liability. And two other companies that have gotten good reviews are Highlands Aviation Insurance and SquareTrade.com. Go ahead and contact any of these companies to get a quote.


AMA (Academy of Model Aeronautics) though has been praised a few times as the best option. As a member of AMA, you get liability insurance. But I don’t think it covers damage to the drone. Although, like I said before, you may be better off just getting liability coverage and just paying for damage yourself since you could end up paying more than you need to cover damage.


Also, remember that policies are different depending on what country you are flying your drone. There are different regulations for where you fly it and how you fly it. And if you are flying your drone for commercial purposes, you may actually be required to have liability insurance. Be aware of these regulations and policies wherever you fly.

SOURCE: Drones Etc. – News – Read entire story here.

Hubsan X4 H107C Mini Quadcopter Drone with Camera

Image H107C_HD_Green__94601.1403064146.200.200.jpg
Hubsan X4 H107C Mini Quadcopter Drone with Camera

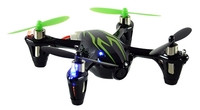
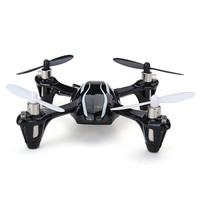
The Hubsan H107C X4 Quadcopter in red and white is a quad-rotor, palm-sized RC helicopter that features a 2.4GHz, 4-Channel transmitter and a built-in 0.3MP, 720 x 240 resolution camera. This quadcopter is a great starter drone if you are looking for video and picture taking capa..

Price: $79.00

SOURCE: Ready Quadcopters: Popular Products – Read entire story here.

Estes 4606 Proto X Nano Quadcopter

Image estes_medium__35257.1403488031.200.200.jpg
Estes 4606 Proto X Nano Quadcopter

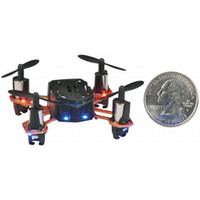
This is the smallest quadcopter currently on the market today. This mini quadcopter comes with everything you need to fly and can basically fit on your finger it is so small. It is comparable in size to a quarter as displayed in the photo. This is the smallest rc quadcopter available..

Price: $29.99

SOURCE: Ready Quadcopters: Popular Products – Read entire story here.

Hubsan X4 H107C HD Camera Mini Quadcopter Drone

Image Hubsan_2_78cbd2e7-2833-4b29-a016-1e091b411d0b__48576.1397704907.200.200.jpg
Hubsan X4 H107C HD Camera Mini Quadcopter Drone

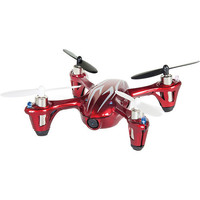
The Hubsan H107C HD X4 Quadcopter in red and white is a quad-rotor, palm-sized RC helicopter that features a 2.4GHz, 4-Channel transmitter and a built-in 2MP, 1280 x 720 resolution camera. This quadcopter is a great starter drone if you are looking for video and..

Price: $89.99

SOURCE: Ready Quadcopters: Popular Products – Read entire story here.

Hubsan X4 H107L Mini Quadcopter Drone

Image Hubsan_X4__55385.1398524796.200.200.jpg
Hubsan X4 H107L Mini Quadcopter Drone

The Hubsan X4 H107L is the most cost effective starter Quadcopter on the market today. It will take plenty of damage and keep on ticking which is why we love it! This mini drone is recommended for beginners as well as advanced fliers as it is fairly easy to learn on and super fun to fly. Whethe..

Price: $48.99

SOURCE: Ready Quadcopters: Popular Products – Read entire story here.

Hubsan X4 Protection Ring for H107C/H107D

Image blue_protection__87891.1403065474.200.200.JPG
Hubsan X4 Protection Ring for H107C/H107D

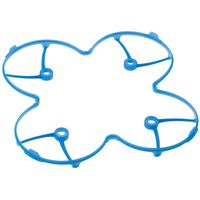
This is a great accessory to an already great product. This ring will really save your blades a lot of wear and tear when first starting to fly. When you bash into a wall this ring will keep your blades from snapping off or breaking. Highly recommended.

Price: $10.00

SOURCE: Ready Quadcopters: Popular Products – Read entire story here.

Blade Nano QX Mini Quadcopter

Image BLH7680_450__03881.1403485400.200.200.jpg
Blade Nano QX Mini Quadcopter

The tiny Nano QX is RC flying fun you can take with you everywhere since it is so small! The Nano QX weighs little more than half an ounce and is small enough to fly in spaces no bigger than an office cubicle. Never flown a quad-copter before? No problem. The Nano QX uses the SAFE™ ..

Price: $89.99

SOURCE: Ready Quadcopters: Popular Products – Read entire story here.

DJI Phantom 2 + Zenmuse H3-3D Quadcopter Drone Bundle

Image medium_3_e74b9b5e5e898920434e8e67a62b0598__06670.1412134712.200.200.jpg
DJI Phantom 2 + Zenmuse H3-3D Quadcopter Drone Bundle

This is the DJI Phantom 2 Ready to Fly Quadcopter, with an included 2.4GHz radio system, 11.1V LiPo Battery and LiPo Battery Charger. The Phantom 2 drone is unbelievably easy to fly. It’s light, rugged and perfect for travel. Plus, when you combine it with the smooth, stabilized foo..

Price: $959.00

SOURCE: Ready Quadcopters: Popular Products – Read entire story here.

Draganfly Innovations Inc. Featured in Winter 2015 Issue of Saskatchewan Now! Newsletter

Image Draganfly-Innovations-A-Flight-Into-History.jpg

Draganfly Innovations Inc. in Saskatchewan Now! Newsletter

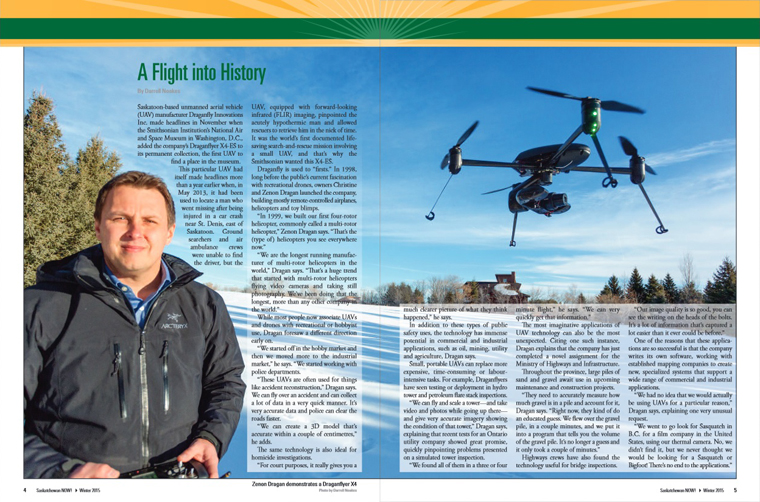
Draganfly Innovations Inc has been featured in the Winter 2015 of ‘Saskatchewan Now!’ newsletter. President Zenon Dragan had a chance to tell some of the history of the company, and touch on such applications as search and rescue, industrial inspection, and photogrammetry.

Read the full article in the Saskatchewan Now! Newsletter

SOURCE: Draganfly.com UAV News – Read entire story here.
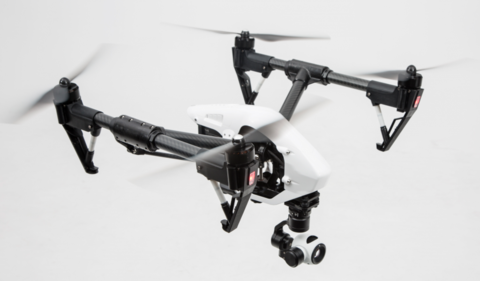
Draganfly Pro-Ag Package offers Turnkey Agricultural Remote Sensing Solution Utilizing MicaSense RedEdge Multispectral Camera

Image MicaSense_CIR_Composite.jpg

Draganflyer ProAg Package - CIR Composite

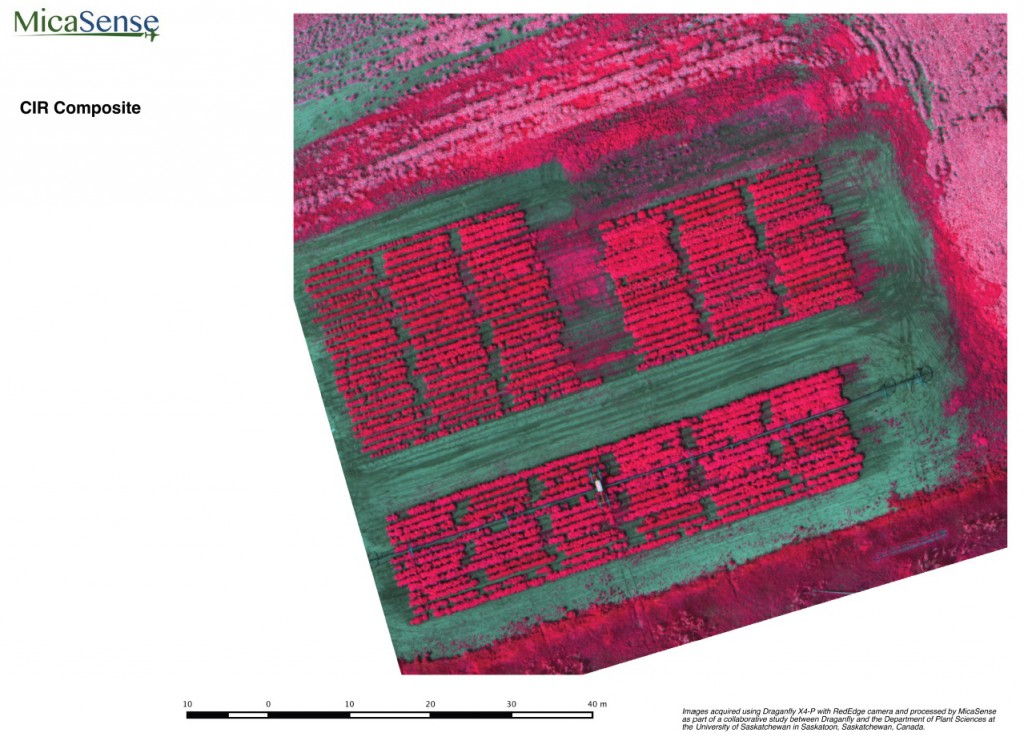
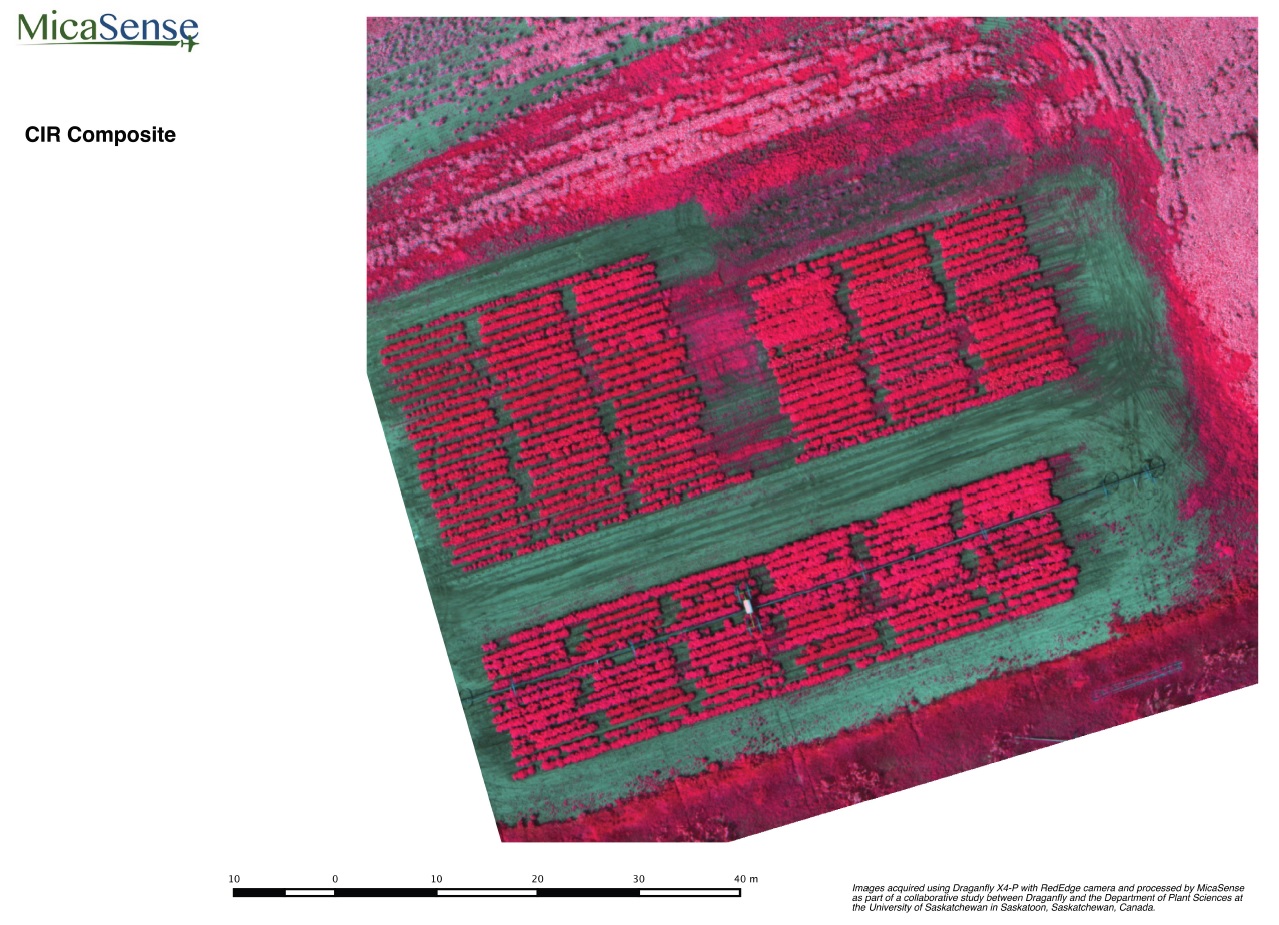
Draganfly Innovations Inc. releases an advanced precision agriculture solution that redefines the way agricultural data is collected and viewed. The camera simultaneously captures five discrete spectral bands, which provide useful data for monitoring crops and environmental health.

March 16, 2015 – Unmanned aerial vehicles are instrumental in collecting multispectral imaging and provide data rich images, which are not visible to the naked eye. Draganfly Innovations now provides an all-inclusive solution that can plan, fly, and process advanced multispectral data. The Draganflyer Pro-Ag package is a comprehensive and powerful tool for farmers and researchers to gather the information needed to make better decisions.

The Draganflyer Pro-Ag package consists of a compact, ready-to-fly vertical take-off and landing UAV, rugged transport case, Draganfly Surveyor flight planning software, the third generation MicaSense RedEdge 5-band multispectral camera, and 2-axis stabilized gimbal. Built for efficiency, Draganfly Surveyor is easy to use and allows multi-flight mapping in situations when the project requires multiple flights to cover the area. Surveyor will automatically “join” the flights to create one seamless project. Ultimately, it’s all about acquiring high quality, precise aerial data.

The collected imagery is used to assess the health of crops and identify damage caused by pests or invasive weed growth. The scientific-grade multispectral imagery provides accurate and repeatable crop health maps so that the proper corrective course of action can then be determined. The combination of the MicaSense RedEdge and Draganflyer UAV provides a quick and effective solution for agricultural consultants and farmers worldwide.

For additional information including pricing, please contact us.

Read this at PRWeb

SOURCE: Draganfly.com UAV News – Read entire story here.

Draganflyer X4-P Featured on the Cover of University of Saskatchewan Student Newspaper, The Sheaf

Image Draganflyer_X4-P_UofS_Sheaf_March_5.jpg

Draganflyer X4-P on the cover of U of S Sheaf

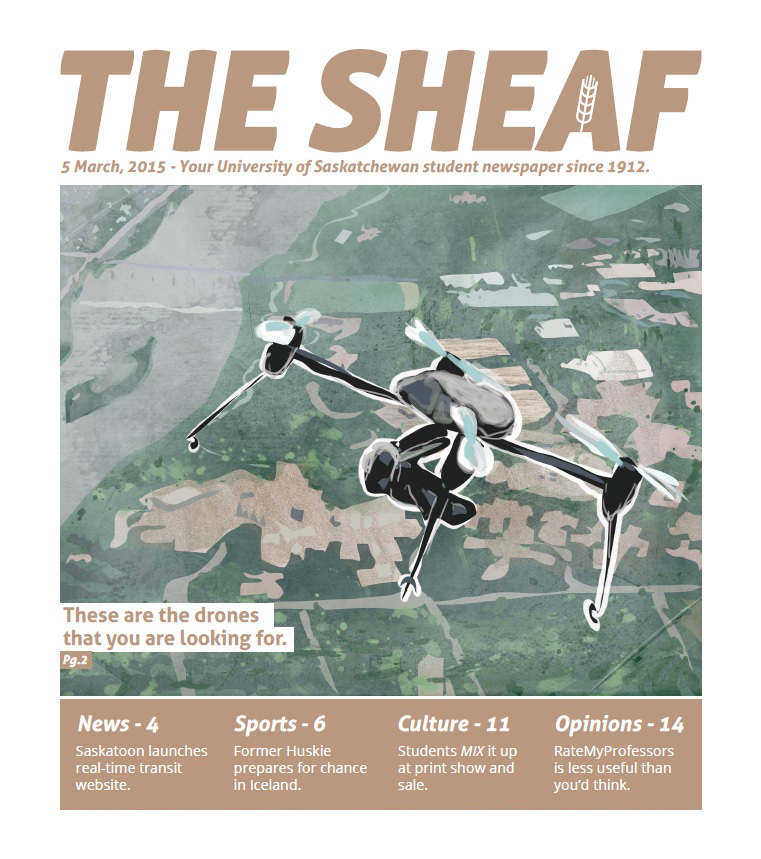
Draganfly Innovations Inc. and University of Saskatchewan recently announced a partnership, in which the Draganflyer X4-P will be used by the College of Agriculture and Bioresources for crop-related studies.

The U of S student newspaper, The Sheaf, met with Gordon Gray, a University of Saskatchewan plant sciences professor, and discussed how the partnership began and how UAV’s will play major part in the future of agricultural studies.

Read the full article in The Sheaf.

SOURCE: Draganfly.com UAV News – Read entire story here.

Saskatoon Police use Draganflyer X4-ES to aid in Investigation of Suspicious Death

Image 10919540.jpg

Saskatoon Police Flying Draganflyer X4-ES

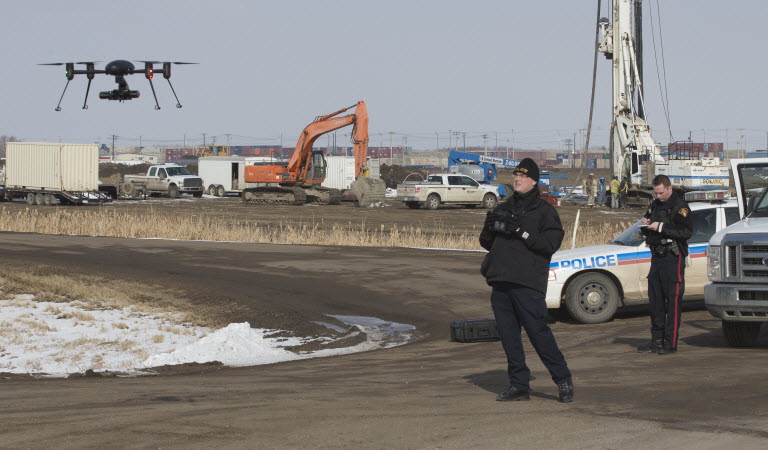
Draganfly Unmanned Aerial Vehicles have recently become a very popular item found in the tool-kits of many public safety agencies. The Saskatoon City Police used their Draganflyer X4-ES system in hopes of gathering evidence and preserving the scene of a suspicious death just outside of Saskatoon. The City Police hope that the aerial data will help give them a better idea of what happened that evening.

Read more about this story at The Saskatoon StarPhoenix.

SOURCE: Draganfly.com UAV News – Read entire story here.
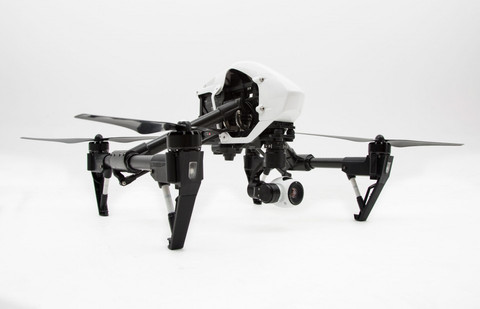
Draganfly sUAS Used to Document Vast Accident Scene of Air Canada Flight AC624 Crash in Halifax, NS

Image X4-ES-ultra-portable-cfmount-full21000.jpg

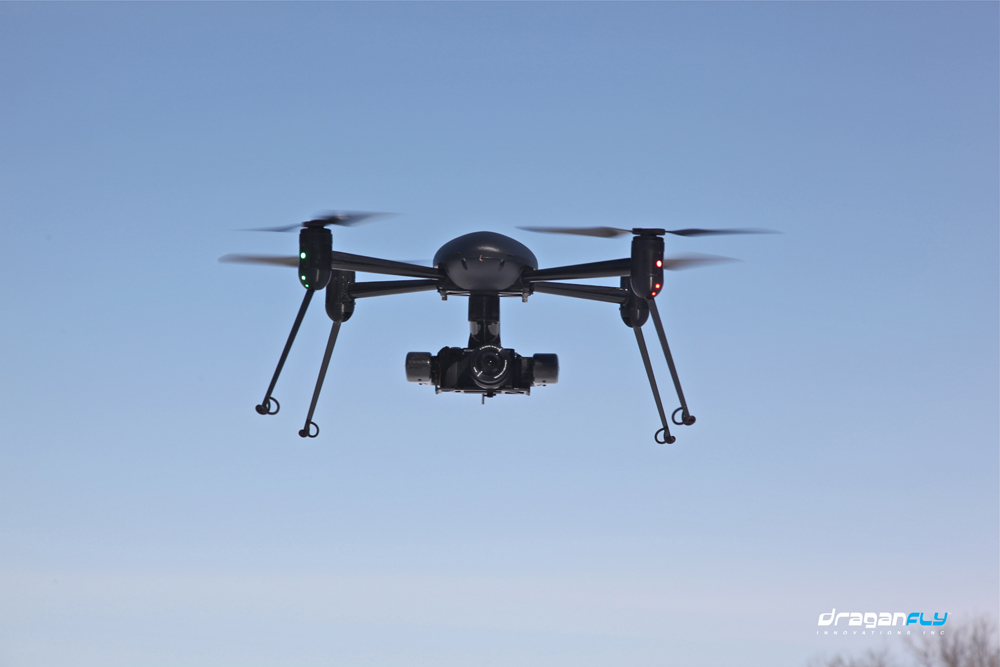
On April 1st, 2011, the Draganflyer X6 was the first sUAS in North America to document a manned aircraft accident in an urban environment. Now, nearly 4 years later to-the-date, the Draganflyer X4-ES operated by the RCMP in Nova Scotia was used to photograph and gather data of the widespread crash site of the wreckage of Air Canada Flight AC624 in Halifax, NS. Working with the Transportation Safety Board of Canada, there are hopes that the images will help determine what went wrong with the approach and landing that sent 23 people to hospital.

Mike Cunningham, the regional manager for air investigations with the TSB, said the aerial photography will help them see the whole picture. “In the past we’ve done that with fixed-wing aircraft, but now that we have this access to the RCMP’s drone capabilities, it’s a really great way for us to get the aerial coverage and the accident site that we need,” he said Monday. “It is a big help.”

This is the second time in the past year that the Nova Scotia RCMP have made headlines using their Draganflyer X4-ES. In September 2014, their Draganflyer X4-ES helped find missing hikers northeast of Topsail Lake, outside of Halifax.

Read the full story at CBC News.

SOURCE: Draganfly.com UAV News – Read entire story here.

Draganflyer X6 and X4-ES UAS’ Appear in March/April 2015 Issue of Sheriff Magazine

Image DRAGANFLYER_X4-ES_MARCH-APRIL_2015_SHERIFF_MAGAZINE.jpg


Photo provided by Sheriff Magazine/National Sheriffs’ Association.

In the March/April 2015 issue of Sheriff Magazine, Alan Frazier of the Grand Forks County Sheriff’s Office has written a great article titled Drone Cops: Establishing an Unmanned Aircraft Systems Unit. In the article, Frazier touches on such subjects as: starting a UAS Unit, advantages of both multi-rotor and fixed wing models, and obtaining a Federal Aviation Administration (FAA) Certificate of Authorization (COA).

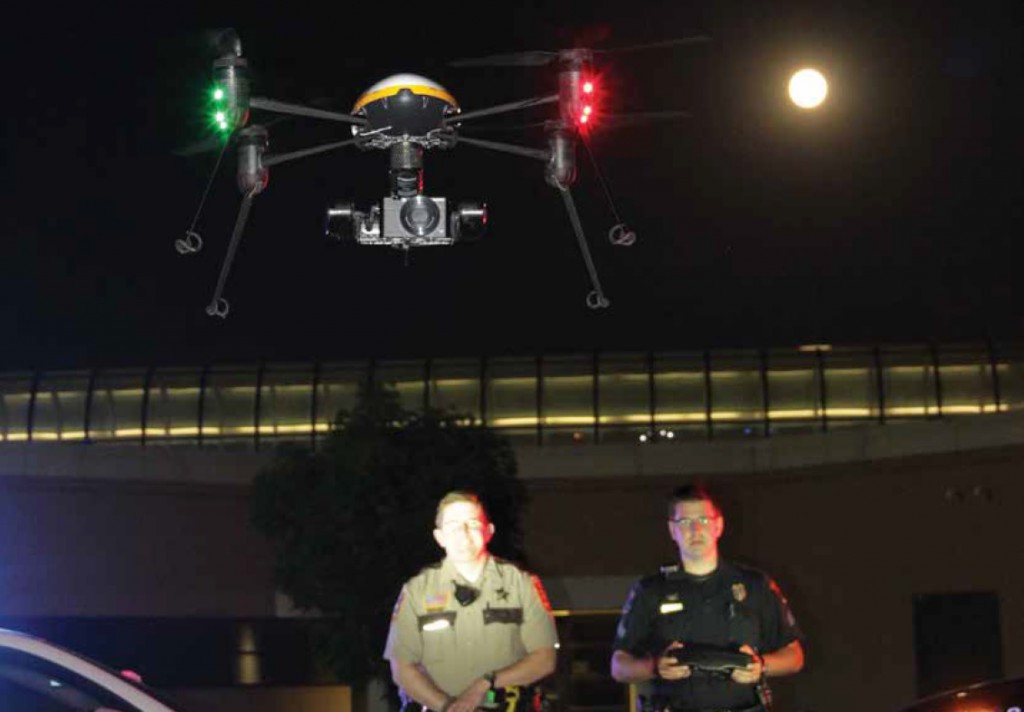
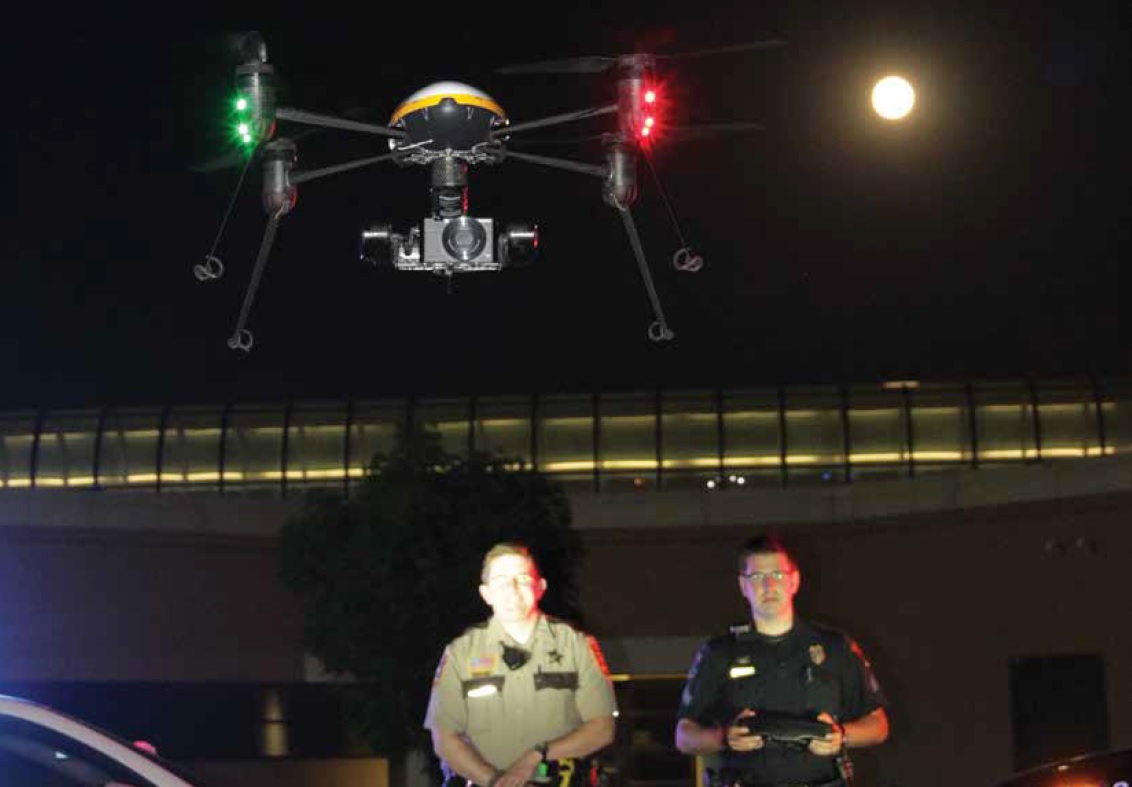
Frazier can be seen with the Draganflyer X6 which Grand Forks County Sheriff’s Office was granted a 16 County wide COA on page 14. The Draganflyer X4-ES owned by Grand Forks County Sheriff’s Office, which was granted the first Certificate of Authority for Nighttime operations use in the United States, can also be seen on page 15.

Click here to read the full article provided by Sheriff Magazine.

SOURCE: Draganfly.com UAV News – Read entire story here.

FAA Awards Draganfly Innovations Inc. Section 333 Exemption for Commercial Operations in the United States

Image Draganflyer-X4-ES.jpg

Draganflyer X4-ES

A long standing leader in developing small unmanned aircraft systems, Draganfly Innovations expands to provide an array of aerial services throughout North America.

Saskatoon, SK – April 10, 2015

Draganfly Innovations Inc., a leader in developing small Unmanned Aircraft Systems (sUAS) for over 15 years is awarded an FAA Section 333 Exemption and Certificate of Authorization (COA) to operate commercially and conduct research in the United States.

The exemption covers the Draganflyer X4-P, Draganflyer X4-ES, Draganflyer X6, and Draganflyer Guardian aircraft for use in aerial data collection such as mapping, agriculture, surveying, aerial photography, and inspections.

“Premier aerial services are a key part of our business moving forward.” says Zenon Dragan, President of Draganfly Innovations Inc. “With the FAA Section 333 Exemption, we now have coverage throughout North America”.

Draganfly systems originally introduced in 1999 have evolved and shaped the UAV industry. The aircraft are widely used by Public Safety Agencies worldwide and one of the first sUAS systems to receive an FAA COA in the fall of 2009 with the Mesa County Colorado Sheriff’s Office. In 2012 the Royal Canadian Mounted Police (RCMP) flew the X4-ES system to locate and save the life of an accident victim. The RCMP system is being placed on permanent display at the Smithsonian National Air and Space Museum.

As the industry evolves, the 333 exemption process is critical as Draganfly takes steps to further expand their reach, conducting U.S. research and offering a broad range of aerial services throughout North America.

SOURCE: Draganfly.com UAV News – Read entire story here.
Search For The Right Camera For My Underwater ROV

Image UnderwaterROV-500x385.jpg
UnderwaterROV

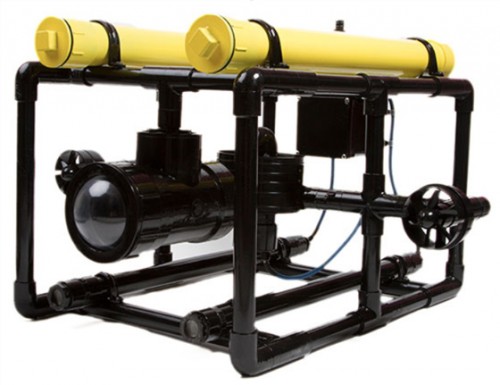
The picture above is an underwater Remotely Operated Vehicle (ROV). When I discovered that many people are building similar vehicles for a few hundred dollars, I said – me too! To buy them ready-made, you’re looking at several thousand dollars to start.

There are a number of videos and websites building your own Underwater Remotely Operated Vehicle (ROV) on the cheap. Most everyone wants a video camera aboard. For me that was the reason for building it. And the GoPro seemed the ideal camera, but there was one more capability I wanted – live video from the ROV’s POV. Since radio waves do not travel well underwater, this meant I’d have to have a hard-wired monitor topsides.

The only problem now was that none of the waterproof cases had a wire – whether HDMI or RCA coming through the case in a waterproof manner. The GoPro Hero 3 and 4 had one solution for an extra $200 plus, but those cameras start at $200 so that’s $400 for just the camera. The more I dug into this, the more I realized I’d have to make my own underwater housing. This is not as daunting as you might expect because there are many adventurous souls who have made their own and documented it thoroughly. My search for the right camera for my underwater ROV was not as simple as I expected.

I looked into all kinds of approaches like using a board camera and building the whole assembly. I also discovered fish cameras which come complete with cable and topside monitor for as little $130 complete, but I did not find anything I liked with 1080p video. So I looked again at the GoPros, especially the older ones like the GoPro Hero (naked). This would have been fine as it captures 1080p at 30 fps. I could use the GoPro underwater housing and do some surgery on it by adding a sealed hole for the cable that would exit the camera.

Since I’m going to have a cable stuck in the camera, I had to consider how much extra space this would require next to the camera connector. Photos and diagrams of the camera were not enough, I’d have to see it in person. So I took a trip to West Marine, a large boating supply house, to see their GoPros. Turned out they only carried the new GoPro Hero 4 which starts at $400 and that was a lot more than I wanted to spend. The camera is only part of the cost, the ROV would need three motors, buoyantly tanks and lots more. I wanted to start with the camera since getting live video from the sea bottom was the whole mission. As I was walking away from The GoPro Hero 4, the salesman asked if I had seen the Garmin Virb Action Camera.
Some of the side by side tests showed the Garmin Virb to have better looking video than the GoPros. There are two versions – the Virb and the Virb Elite. The Virb has been discontinued but is still being sold and customers seem to love it. The $300 Virb I saw at West Marine had been marked down to $78! This was my camera. When I got it home I found the battery would not take a charge so I have to exchange it for another one, later today. So my review of that camera will have to wait.
And yes I will be putting it at risk by making my own underwater housing, but after reading all the DIY housings I was pretty confident I could make it dry down to 50 feet. I will keep you posted this project on this and will review the camera as soon as possible.


The post Search For The Right Camera For My Underwater ROV appeared first on VideoUniversity.

SOURCE: VideoUniversity - Read entire story here.